HOW TO HANG YOUR BALLOON GARLAND ON A WALL
We get asked this question very often – “How do I hang my balloon garland on my wall?” As any first-time balloon garland maker will tell you, hanging your balloon garland may be the trickiest part of the whole process. Even if you have made and hung a balloon garland before, there’s a chance that you may have ruined your wall in the process or had your balloon garland fall in the middle of your party (oops!)
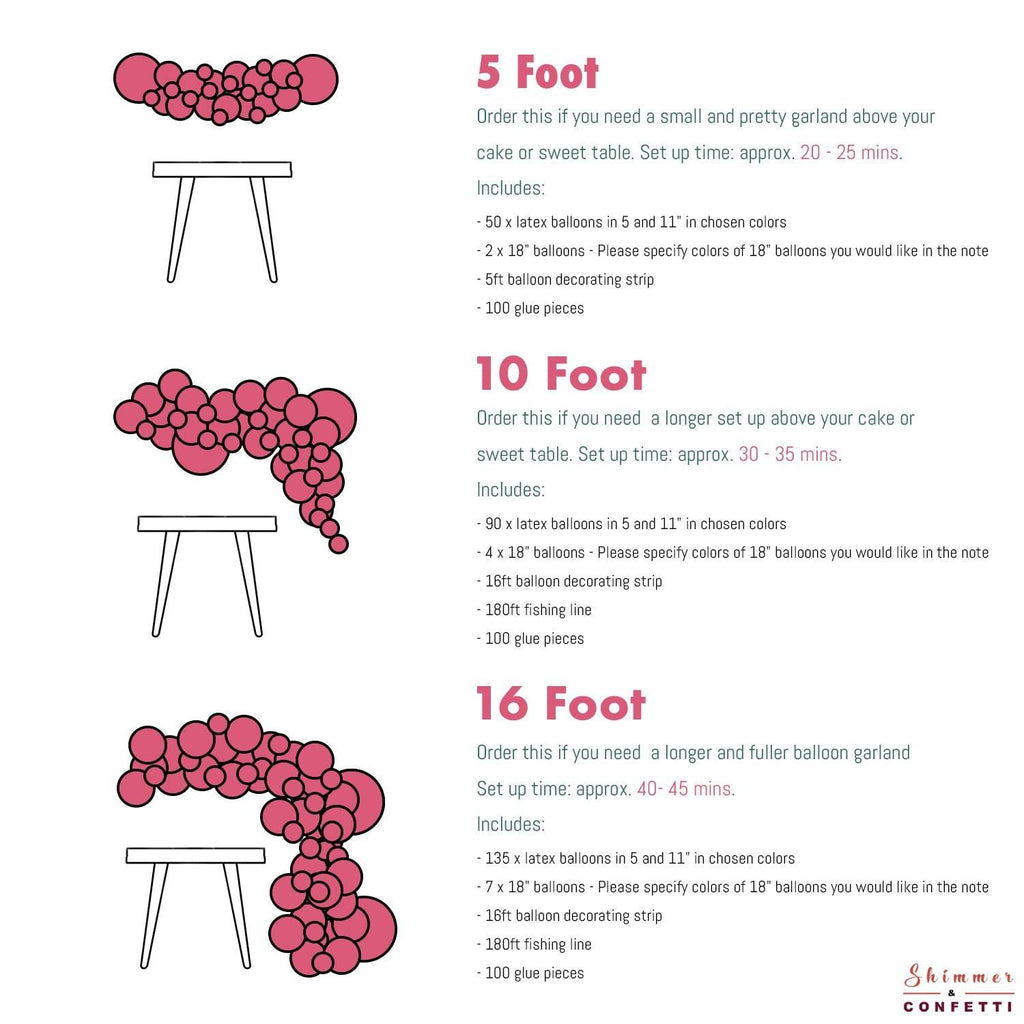
In this blog post, we are going to explain all the tips and tricks on how to easily hang your stunning and show-stopping balloon garland. We are taking all the guesswork out and showing you how easy it is to complete your DIY balloon garland project! The method we are going to show you can be used for various balloon garland sizes. (see chart below for sizing).

Before we proceed, I thought you should know that Shimmer & Confetti has got you if you are looking to purchase a balloon garland. Simply click HERE to build your custom balloon garland.
Hanging your balloon garland on a wall
Here is what you will need:
- A balloon garland made with either fishing line, twine or balloon decorating strip
- Command hooks (if indoors) or outdoor rated mounting hooks (if outdoors)
- Fishing line/twine/ribbon
Note: If you order a balloon garland kit from Shimmer & Confetti, your kit will come with a fishing line and ribbon. Otherwise, you may need to head to your local craft store to get these.
-
Balloon Garland:
If you would like to learn how to make a balloon garland from scratch, please read here. Just a heads up - the steps in this tutorial assume that you already have a completed balloon garland. You can order your DIY balloon garland kit here. -
Command Hooks
If you are hanging your garland against a wall, you should take extra care to ensure that you do not damage your walls.

We like to use 3M Command hooks on the wall. These hooks are great because they stick on and come off the walls in our studios very easily and with no (zilch!) damage to our walls.
Command hooks are available in a wide range of designs to match your individual style and décor. They also come in a variety of sizes and hold a surprising amount of weight.
It is worth mentioning here that, as with every product, it is very important that you follow the manufacturer’s instructions on installing and removing these hooks.
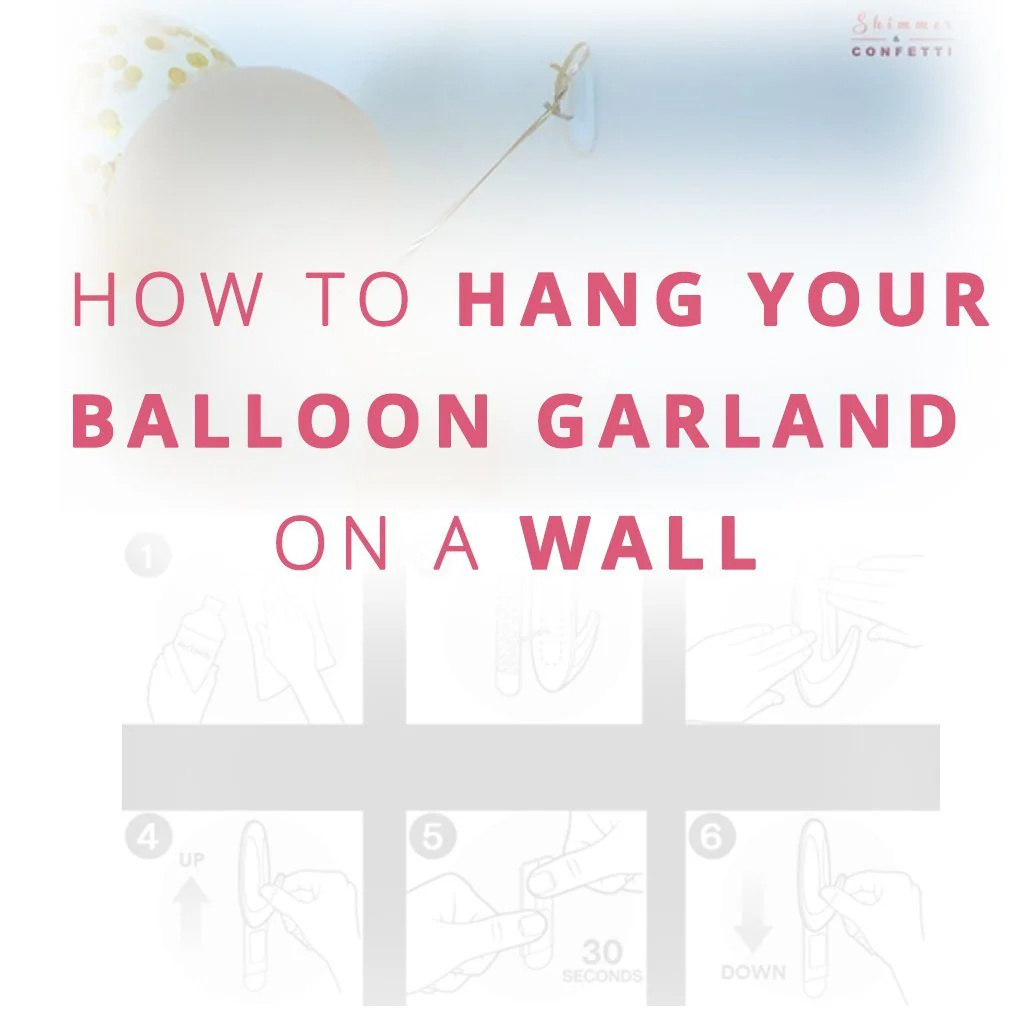
Before we get into hanging our garland, let's get familiar with Command hooks. Below are simple instructions with pictures on how to use Command hooks.
Installing a Command Hook
How to install a Command hook varies slightly across the variety of designs available. However, the general steps still apply.
Pro Tip:
Command hooks blend very easily with most walls. To make your structure even more elegant, we suggest using clear Command hooks which blend in more seamlessly allowing you to show what matters most, your balloon garland, and not how it's hung up

- Wipe the surface of the wall where your hook will be installed. This will remove any grime or dirt build-up which may affect the adhesive on the Command hook.
- Separate the strips and remove the red liner. Press the strip onto the backside of the hook.
- Press the hook firmly against the wall for about 30 seconds. The harder you press, the stronger the adhesive bond will be.
- In order to get the adhesive to really stick, you need to slide the hook up and off the mounting base.
- Then, press the base firmly against the wall for 30 more seconds.
- Slide the hook back on. Wait 1 hour before hanging anything on the hook. This allows the adhesive bond to reach maximum strength. Check your package for the correct weight limits.
Tip: We advise using hooks with weight limits of 3lbs or higher for all balloon garlands. Most garlands will require 2 or more hooks, depending on the style. We use only 2 (two) 3lb hooks for our in-house photoshoots btw...
We personally do not wait an hour and have never had any issues with Command hooks falling off. However, to be safe, we suggest waiting an hour before mounting your garland on the hooks.
We share tips on how to take down your balloon garland and uninstall Command hooks here.
Now that we are well familiarized with Command hooks, let's discuss hanging our balloon garland masterpiece!
Hanging your Balloon Garland
Here are a few easy steps to follow to hang your balloon garland:
- Decide where you would like to hang your garland, then have a friend or family member hold the garland up to determine where your first wall hook will be placed. If you are party prepping on your own, you can do this step yourself – use your left hand to hold the balloon garland, and your right hand to mark out the spot for your wall hook.
- Install the first hook on the wall. (See installation steps above.)

- Then, using a piece of fishing line (monofilament), twine or ribbon, attach the beginning of your garland to the hook. If you have used a balloon decorating strip to make your balloon garland, you can simply hang your strip directly on the hook.
- Adjust the garland to your desired height by tightening or loosening the fishing line (or twine or ribbon).

- Once the first end of your balloon garland has been hung securely, hold up the rest of your balloon garland against the wall to form your desired shape.
- Position and install your second wall hook based on your preferred garland shape.
- Again, use fishing line/ribbon/twine to tie a generous loop around the balloon garland.

- Then, attach the loop around the hook. If you need to shorten the loop to make the garland hang higher, simply add a knot in the loop and hook it again.

PRO TIP: We love having a slight sag in the horizontal portions of our garland. To achieve this, we install two wall hooks 4ft apart. Then, attach one end of the balloon garland to the first hook. Measure a point on your balloon garland 5ft from the hung end, then hang this new point to your second wall hook.
For most garland shapes, you will need 2 hooks at the top, with the rest of the garland hanging loosely to the floor. If your balloon garland is 16ft or longer, the rest of the balloon garland will hang loosely to the floor. However, if your garland does not touch the floor, then you may need a 3rd hook to keep the vertical of your garland in place.
AFTER HANGING (EXTRAS)
Extras are a great way to add some ‘extra’ sparkle to your balloon garland or to make it even more unique. You may choose to add confetti balloons, foil balloons or florals to your garland.
Once your garland has been hung, you may add in any extra decorations to your garland. Finally, fill in the gaps with the 5-inch balloons, using the glue dots.
Now, take a step back and admire your gorgeous garland!
Find all the balloon garlands featured in this post on Shimmer and Confetti. Stay on our blog for more inspiring party ideas!
Don't forget to pin it!


Comments
Leave a comment